
1. Sign in and choose Campaigns
Open the sign-in link sent to your email. On your first visit, choose Campaigns to see Advertisers, Orders, Line items, Forecast, and the creative library in the sidebar.
2. Add the advertiser
Open Advertisers › New advertiser and enter a name and short reference. Set advertiser domains and competitive-exclusion labels on the advertiser page; its orders inherit them.
3. Book an order
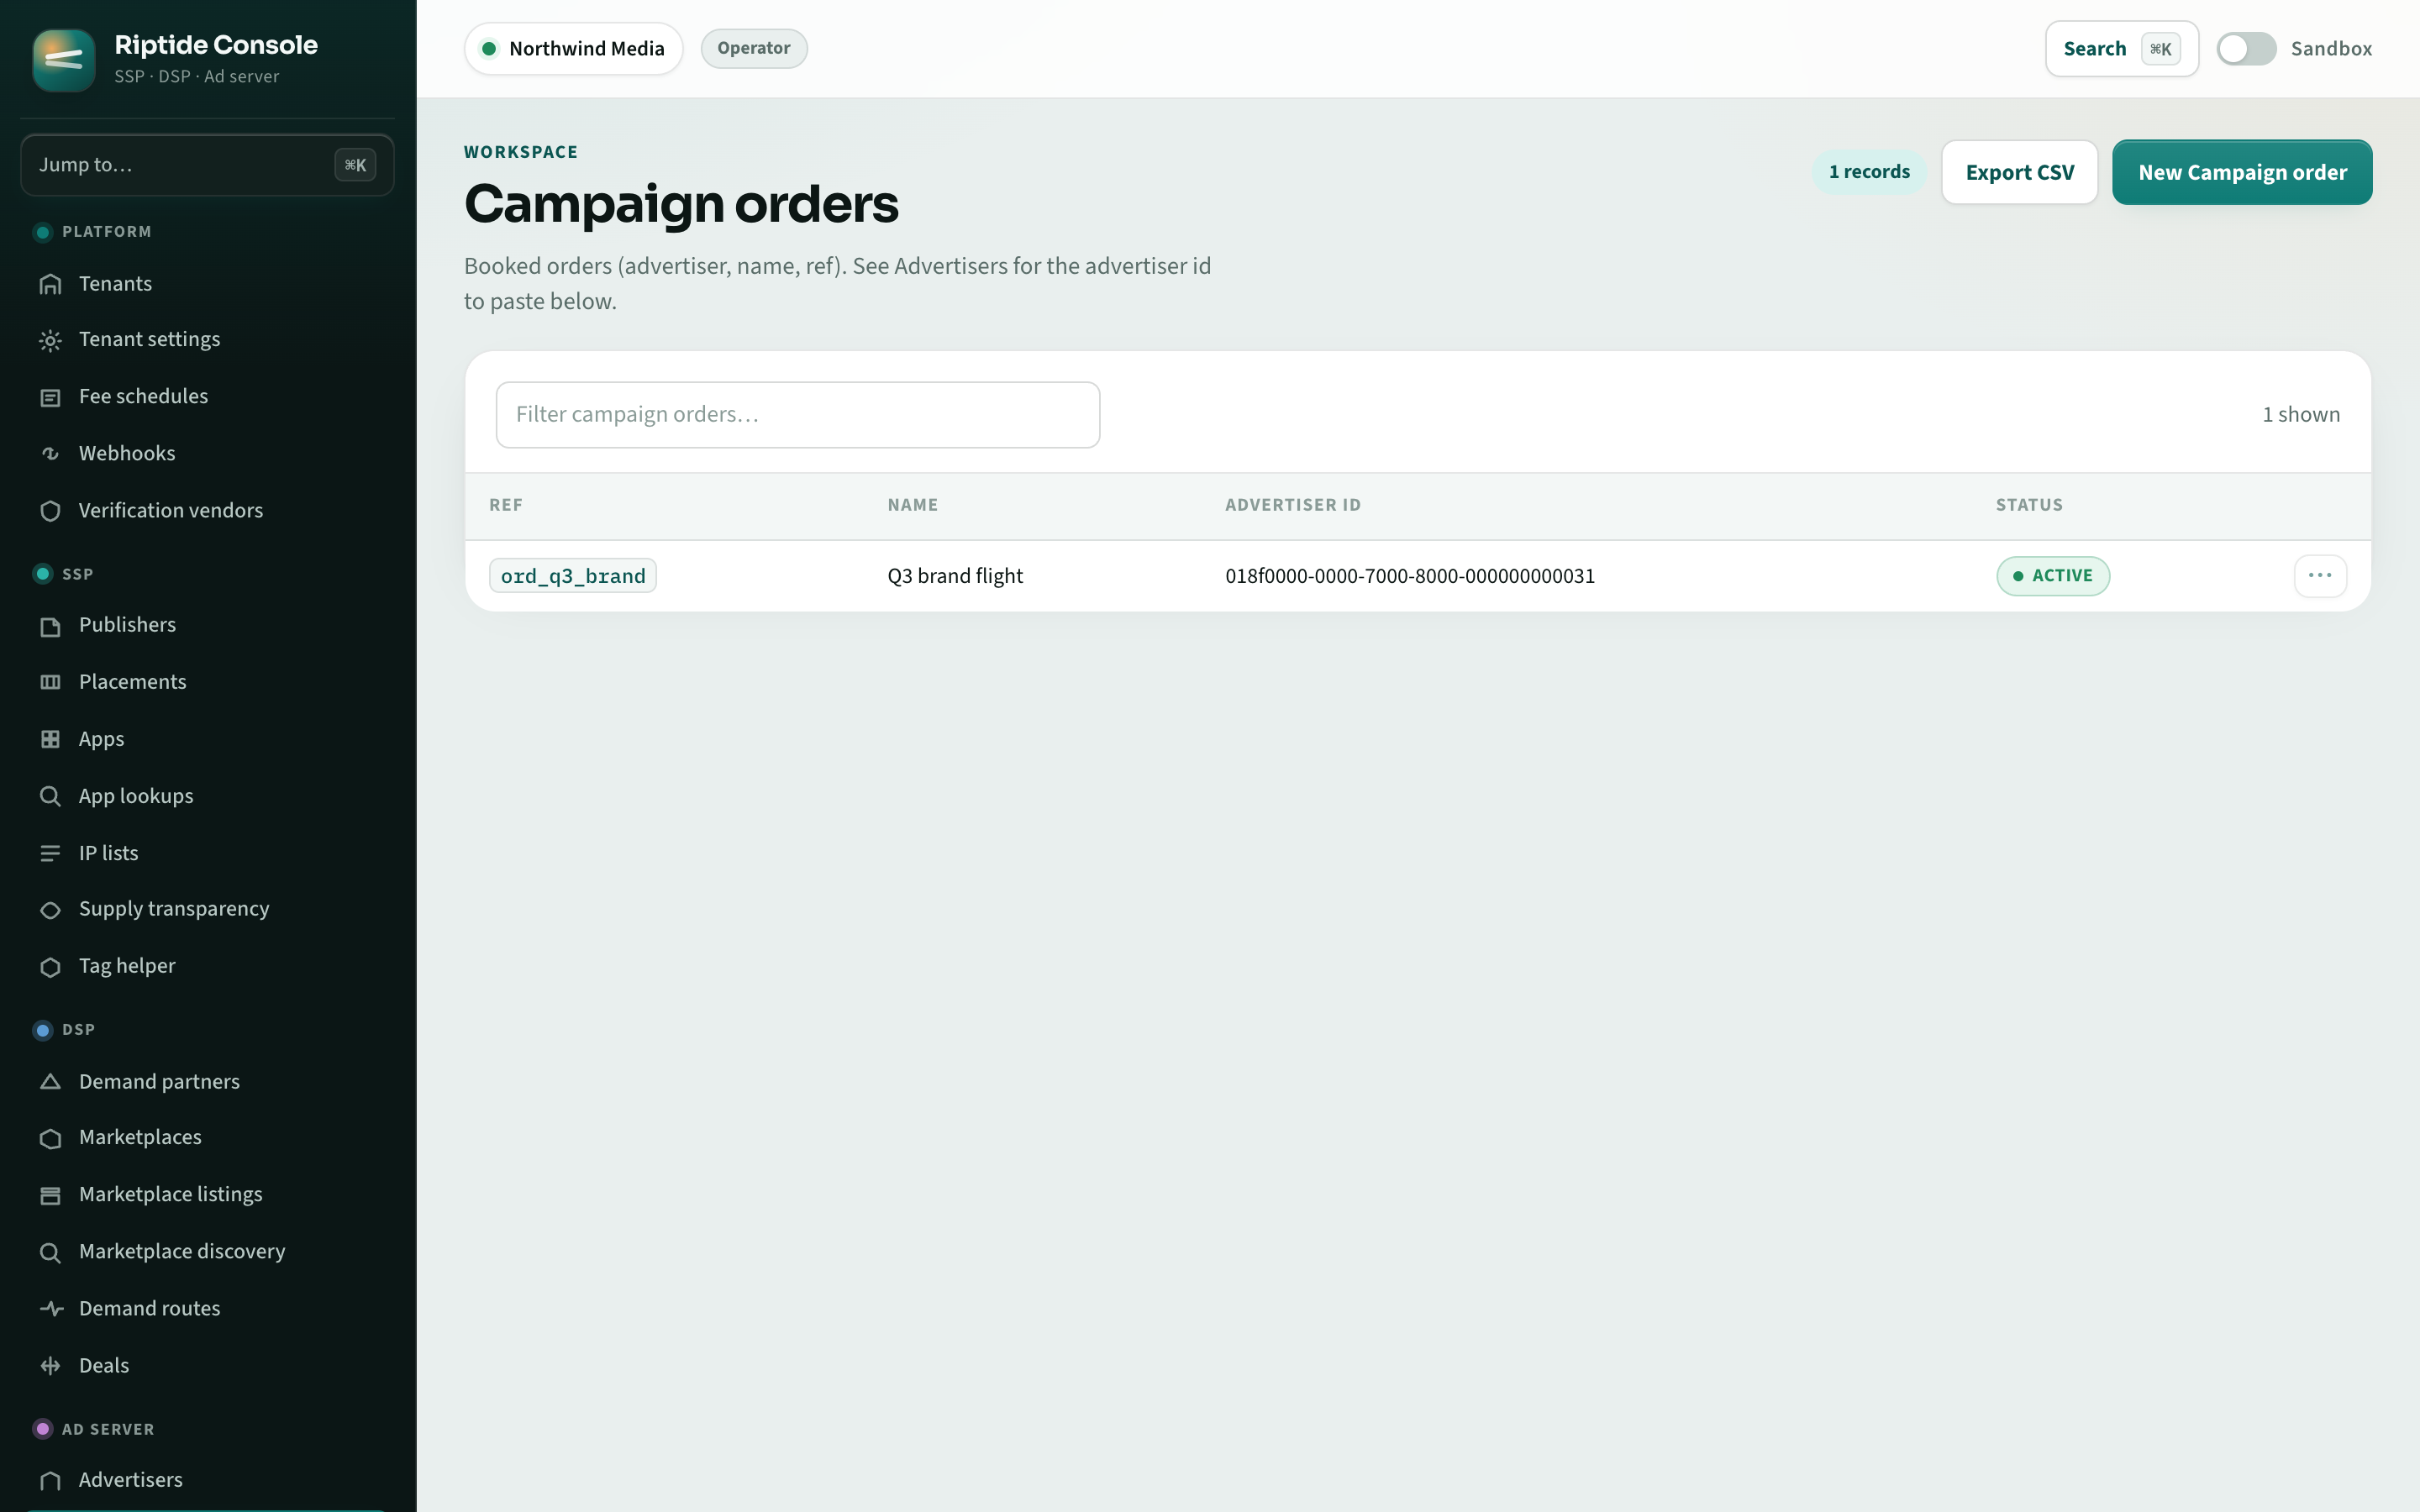
Go to Orders › New order. Select the advertiser and enter the campaign's start and end dates and budget. Set pacing and priority defaults on the order for its line items.
4. Add a line item
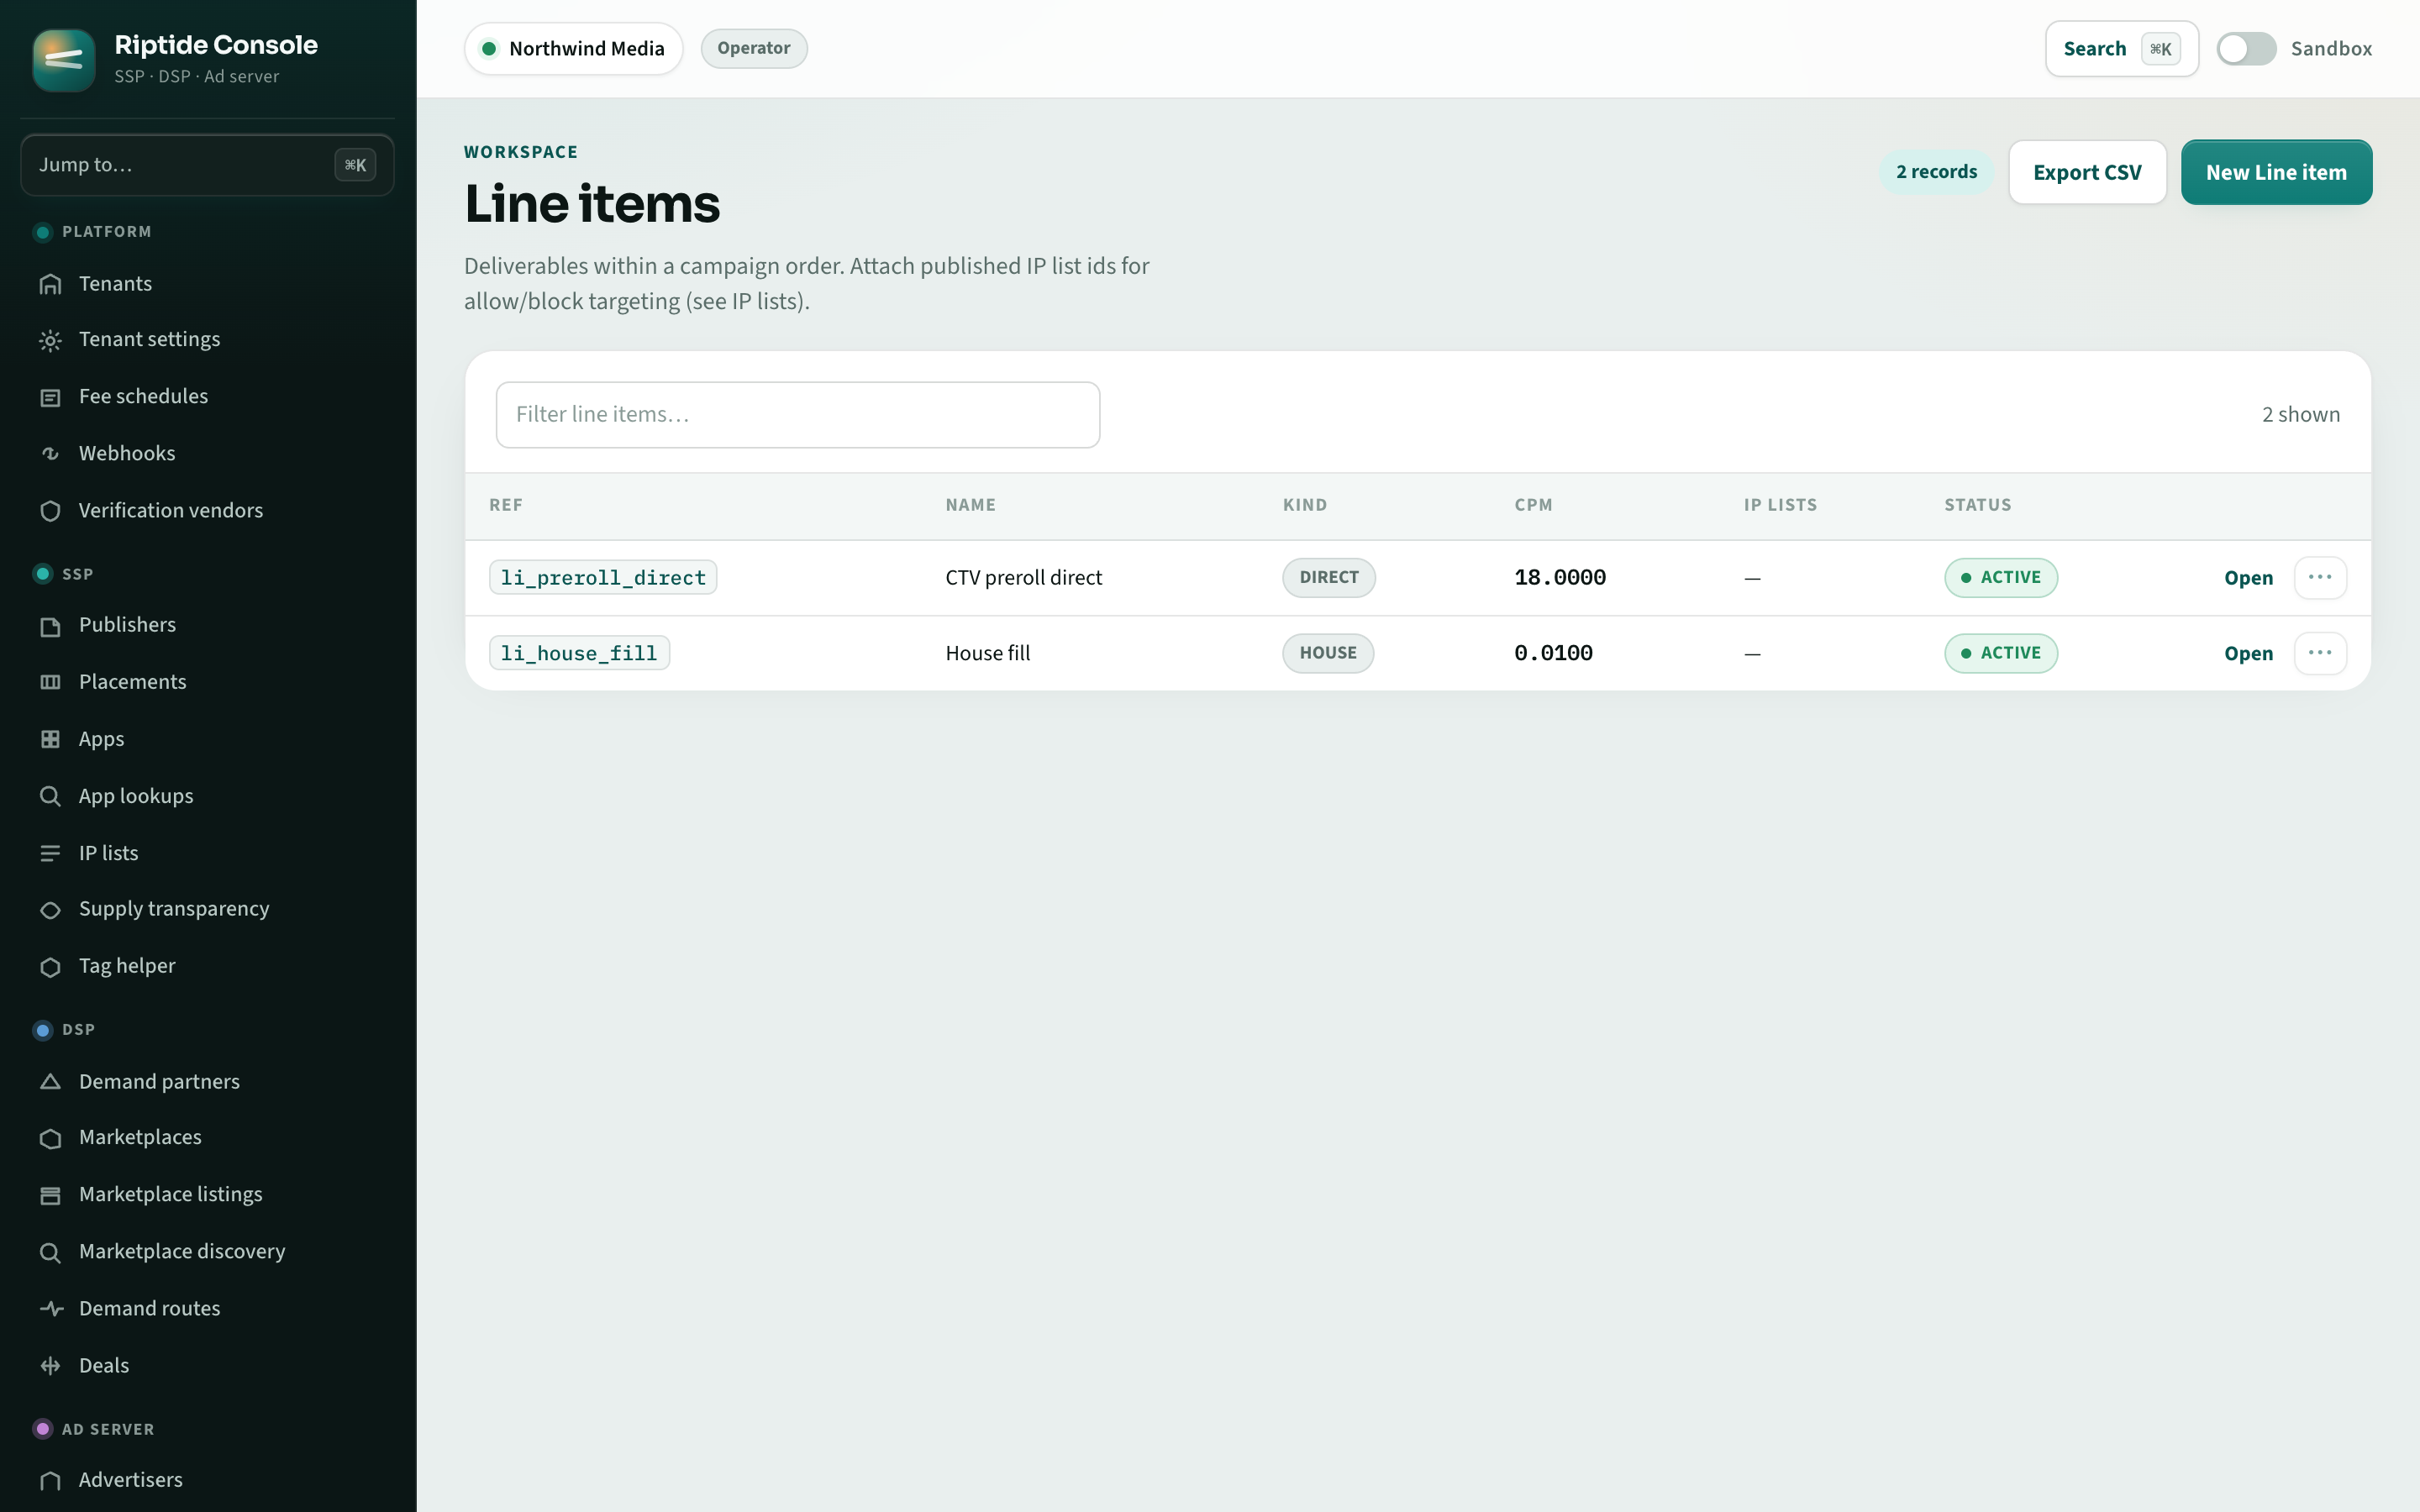
Open Line items › New line item under the order. Choose direct or house, then set the goal and rate. On the Targeting tab, configure geography, dayparts, frequency caps, an audience or a targeting expression. The Eligibility report explains which conditions allow or prevent the line item from serving.
5. Attach a creative
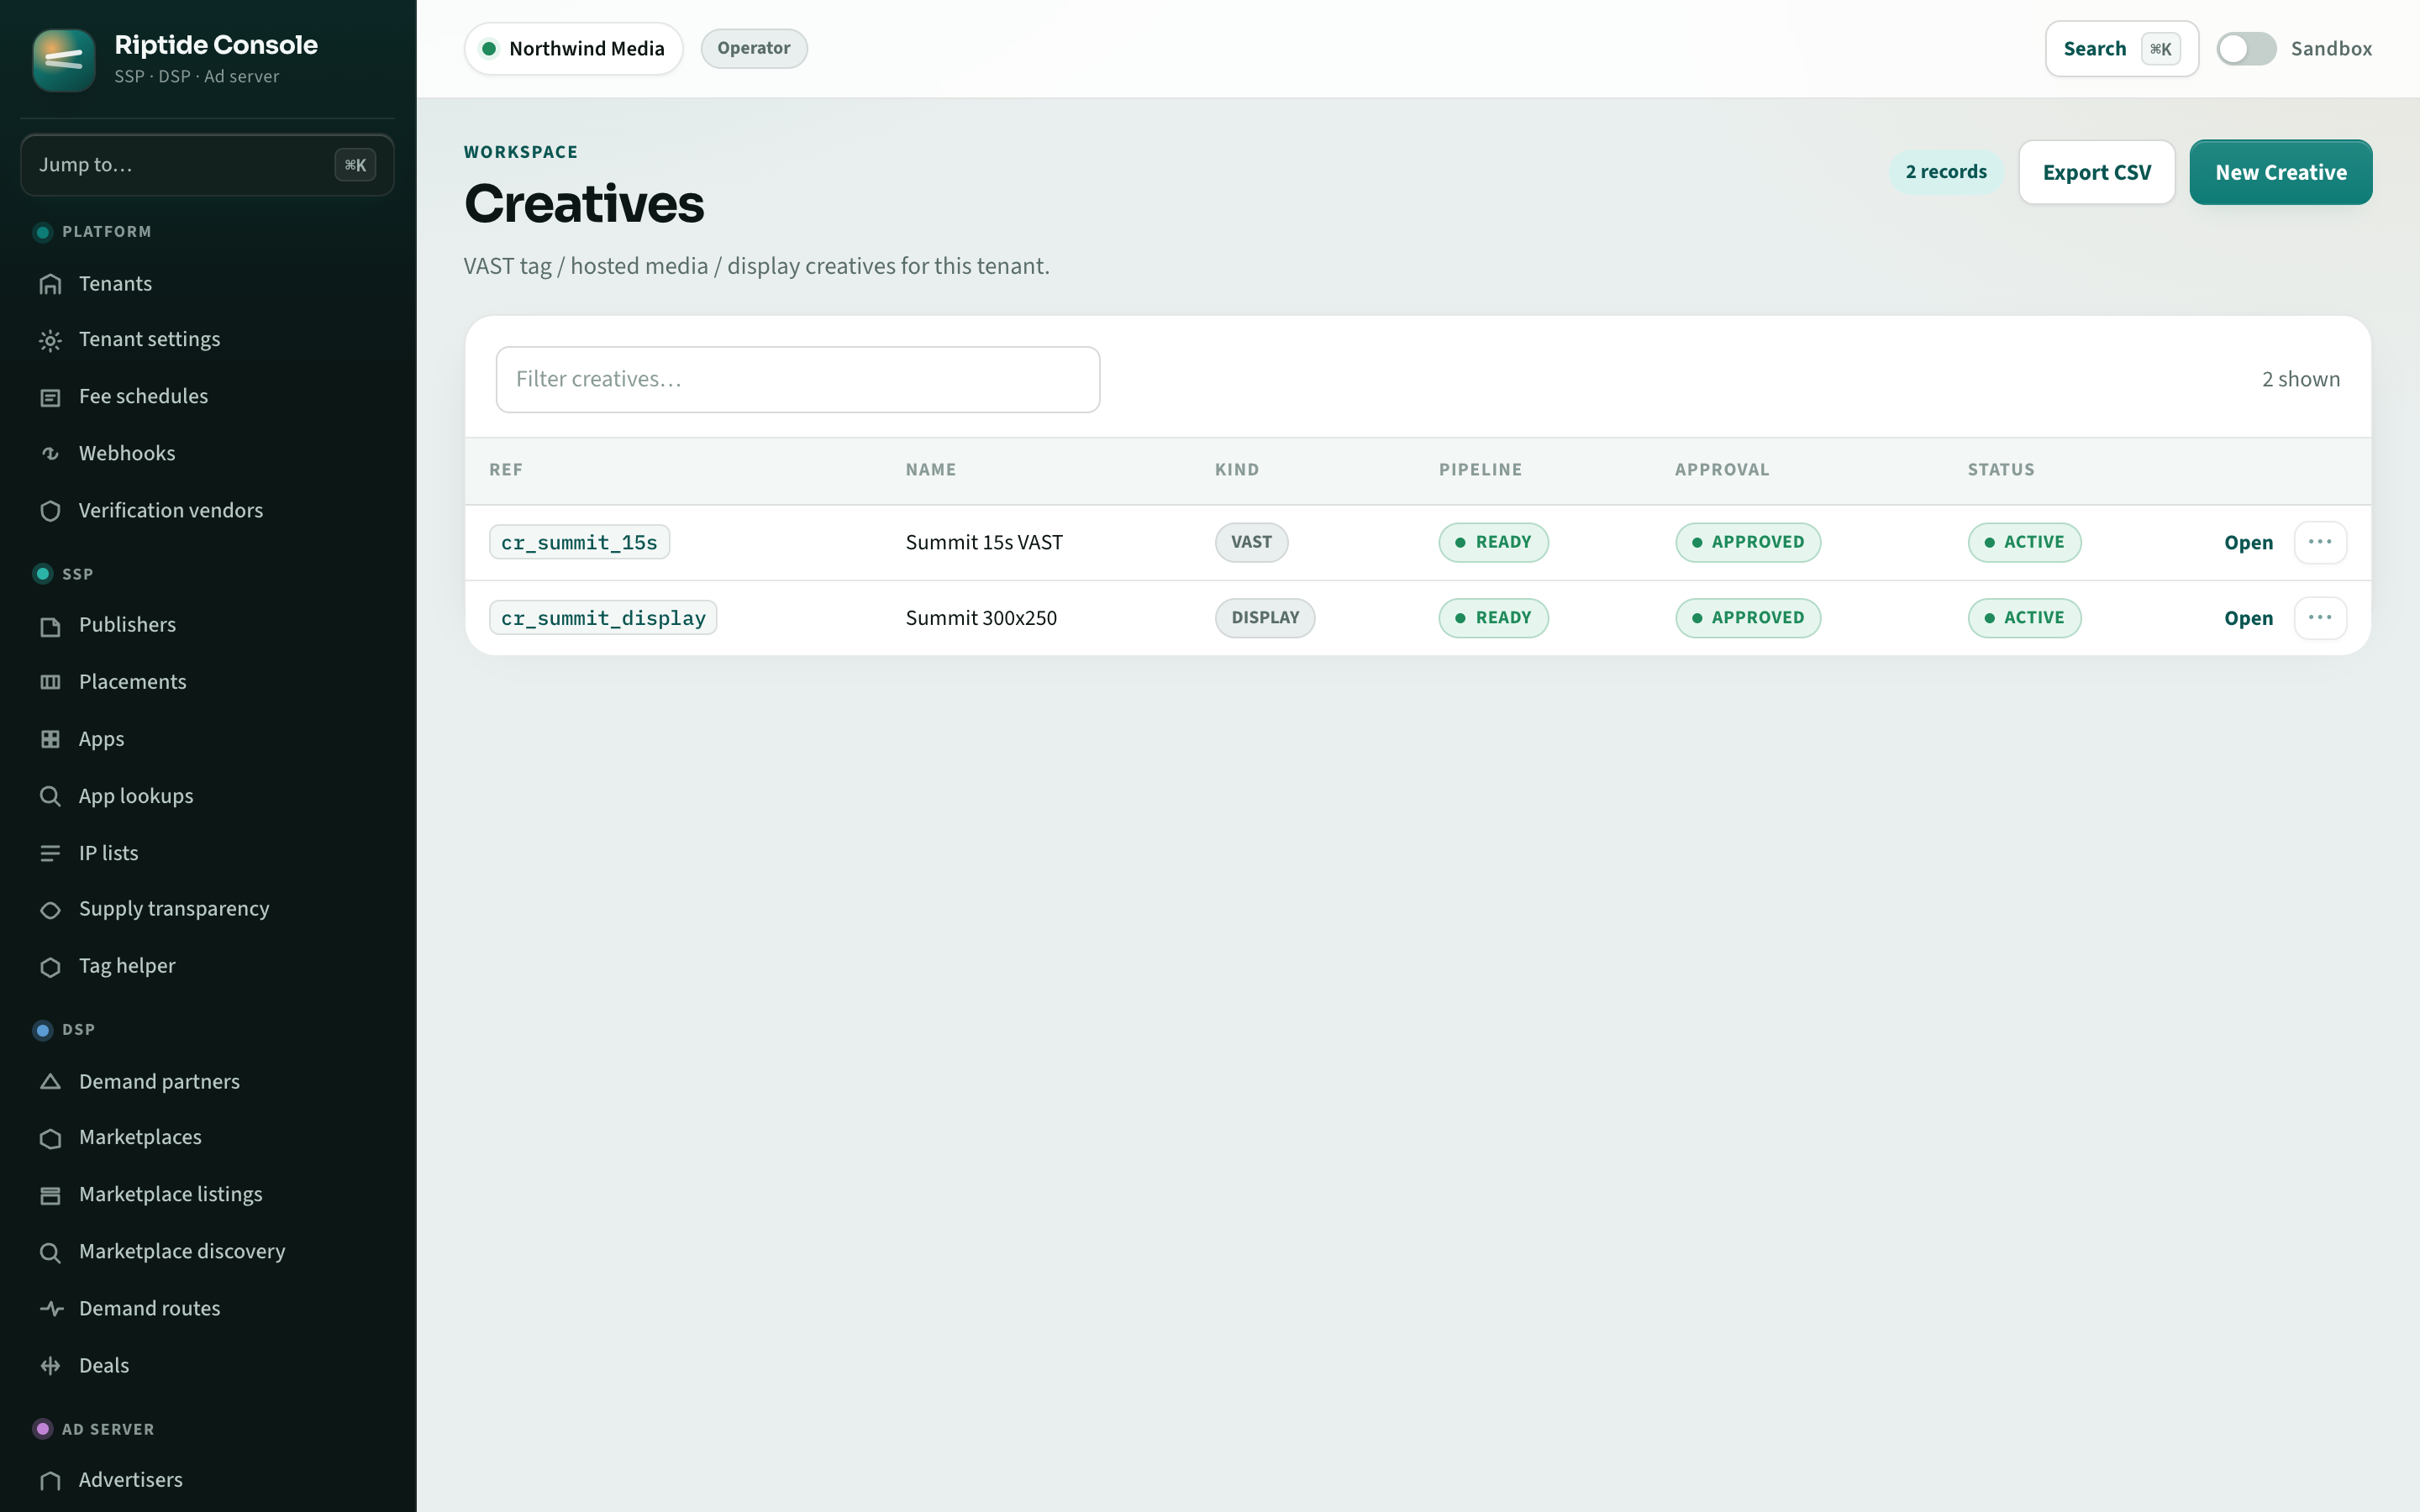
Go to Creatives › New creative and add VAST, a media file, or display markup. Wait for processing to reach Ready and complete approval if your tenant requires it. Attach the creative to the line item on its Creatives tab and set a rotation weight.
Watch it deliver
Home shows impressions, clicks, spend, delivery alerts, and the setup checklist. Use Reports › Explore to break down results by the dimensions you need.
What's next
Selling inventory too? See the publisher guide. Connecting a programmatic buyer? Follow the buyer guide. For local development, use the local stack guide.
Get help with campaign setup
Tell us which ad format you are using and where setup stops, from booking the order to approving a creative or checking eligibility. The campaign example also shows the records to inspect before activation.